How to Foundation Paper Piece
Foundation paper piecing is a great quilting technique and is a great use of tiny scraps. Here you can see Jenny from the Missouri Star Quilt Company teach you how to Foundation Paper Piece.
Step 1: Gather your supplies
What do you need for foundation paper piecing?
A sewing machine with a straight stitch
Fabric scissors/rotary cutter
Quilting cotton
Paper for FPP (I recommend newsprint)
A printer
Paper scissors
Tape
Pins
Optional, but very helpful: a ruler
Optional, but very helpful: tweezers
Step 1: Select your pattern
What is your skill level? What are your interests? Are you planning a quilt or a tote bag or a pillow or something else? I would look at the complexity of the pattern, the number of pieces and colors used, and the size of the final design.
As an example, I am going to use the minimalist bird pattern, which has 8 pieces, 4 colors, and finishes 10”x 10”s big.

Step 2: Print
Here you have a few options. You can download your pattern and print it onto computer paper and then trace it on to tracing paper or medical paper.
My preferred method is to use newsprint paper for smaller pieces, and computer paper for larger pieces and to sew directly through the paper (using a 1.5 or 1.8 stitch length).

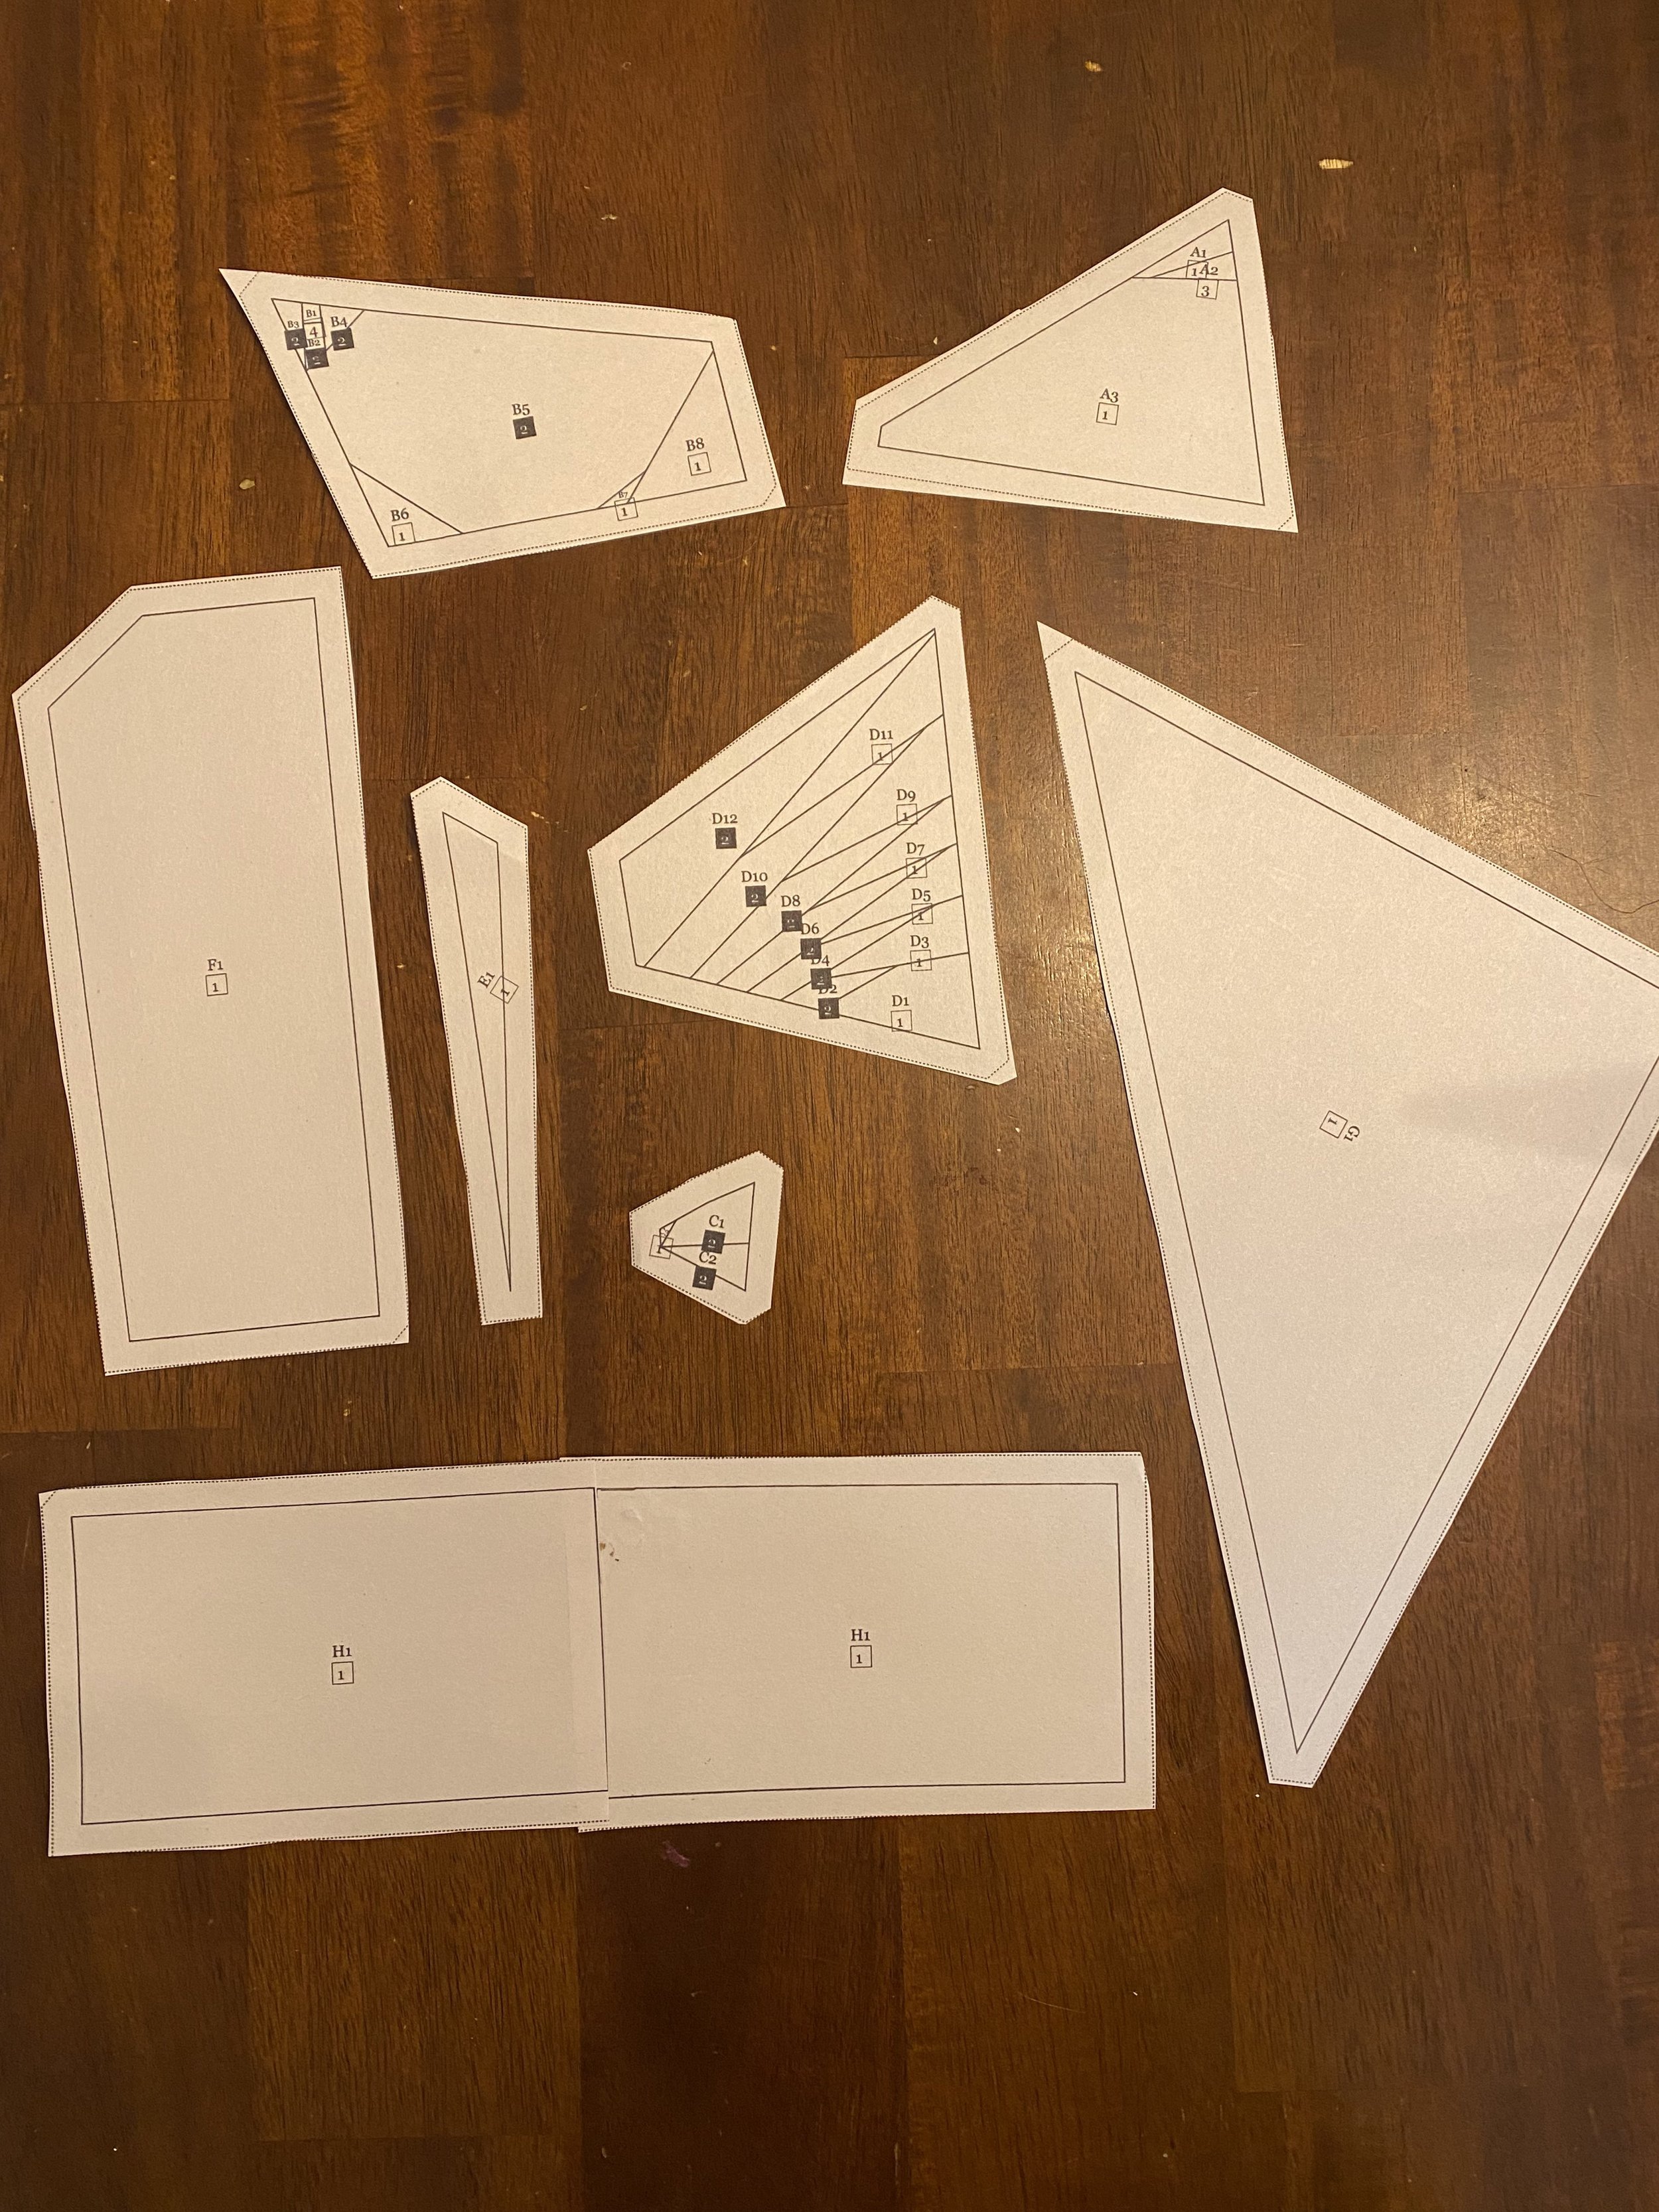
This is a sample of how the pattern might print up on computer paper
Step 3: Cut out and match larger pieces
Look to see if you have any larger pieces in your pattern. These will have “Glue Edge #X” on the edges. Cut out these pieces. Rough cut is fine.

Once you have matched the edges (A Glue Edge #1 to a Glue Edge #1) cut off ONE of the edges, to the solid line. You are just cutting off the seam allowance.
Tape or glue the sections together, matching the solid lines. I prefer scotch tape, but you may prefer other methods to attach them.
Tape or glue the sections together, matching the solid lines. I prefer scotch tape, but you may prefer other methods to attach them.

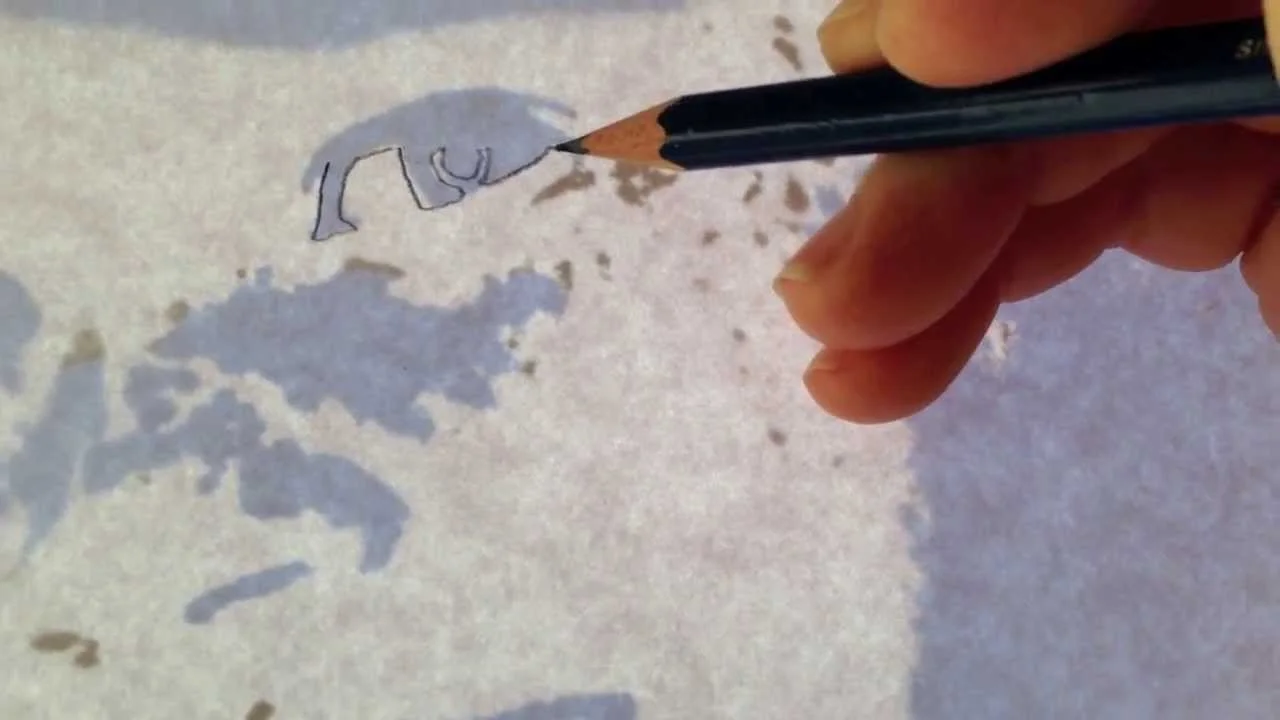
(Step 4: Trace)
If you want to use the tracing method: Trace from your computer paper onto the medical paper. Make sure you transfer the sew lines and the 1/4” lines, as well as the name of the pieces and color codes. Match your color codes to the colors you want to use.
Step 5: Cut out all your pattern pieces
Now is your time to use your paper scissors to cut out all of your pattern pieces. If you are working on a larger pattern, these pieces might be divided into sections. I suggest only printing out and completing one section at a time. For the Plucky Stitch Patterns, the pattern will have the section name at the bottom.
Step 6: Cutting the fabric
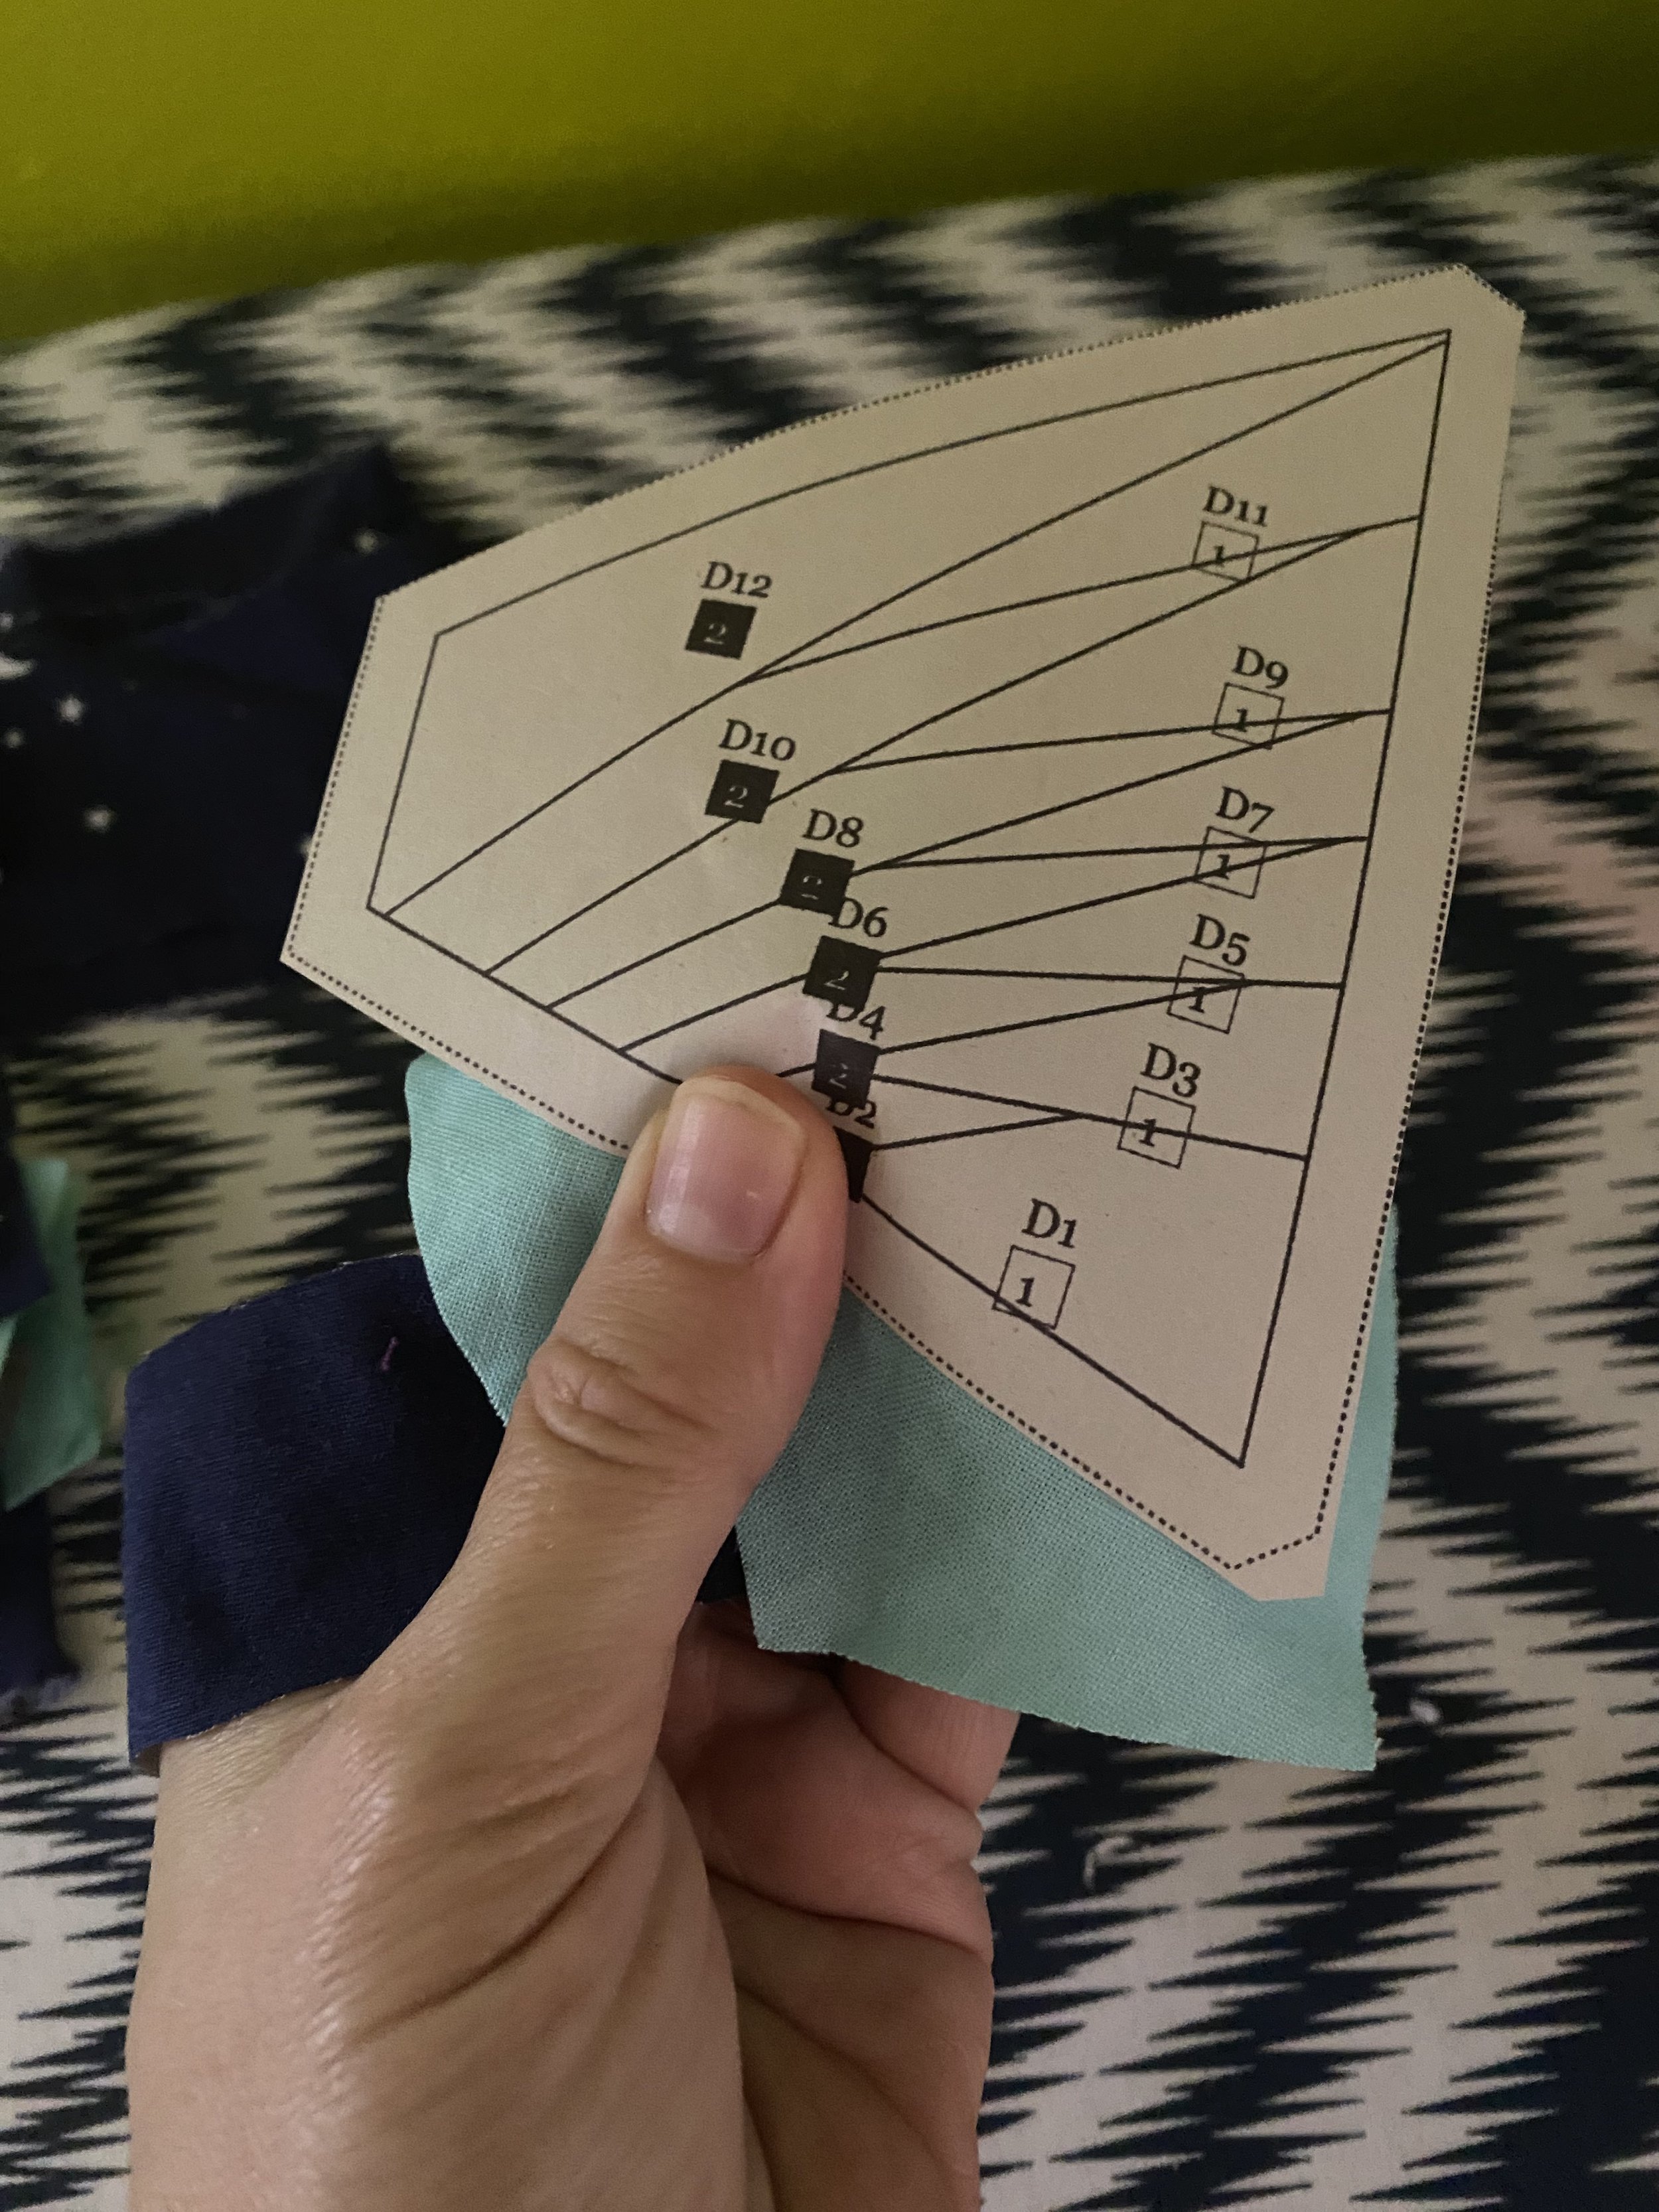
Now you are going to start cutting your fabric. For the Plucky Stitch patterns, the color number is the number in the box, below the piece name and number. There should be a color sheet in the pattern with suggested pattern colors.
For this pattern, I am using a aquamarine for color 1, a navy blue for color 2, yellow for color 3, and white for color 4.
I start with the pieces that are only one color. I lay the pattern pieces with the numbers facing up, on top of the fabric, pin them, and cut around the shape. For a patterned fabric, the wrong side of the fabric will touch the paper. You will need to be exact during the cutting, so ensure that your fabric is ironed (starching also helps) and use a ruler if that helps you to cut a straight line.

The blue you see peeking out under the piece shows the RIGHT side of the fabric. The right side does not touch the paper.
For multiple colors:
For your pieces with more than one color, it is helpful to watch a youtube tutorial to show you different strategies. I will explain one. You want every piece to be AT LEAST 1/4 inch bigger than every side of your shape. When you are starting out, it is better to have each piece be a lot bigger than the shape on the paper.

Laying out pieces with multiple colors/sections
To keep things organized, I cut out all the fabric, and then pin it to the piece until I am ready to sew. Other people use tray or baggies or clips to organize their pieces.
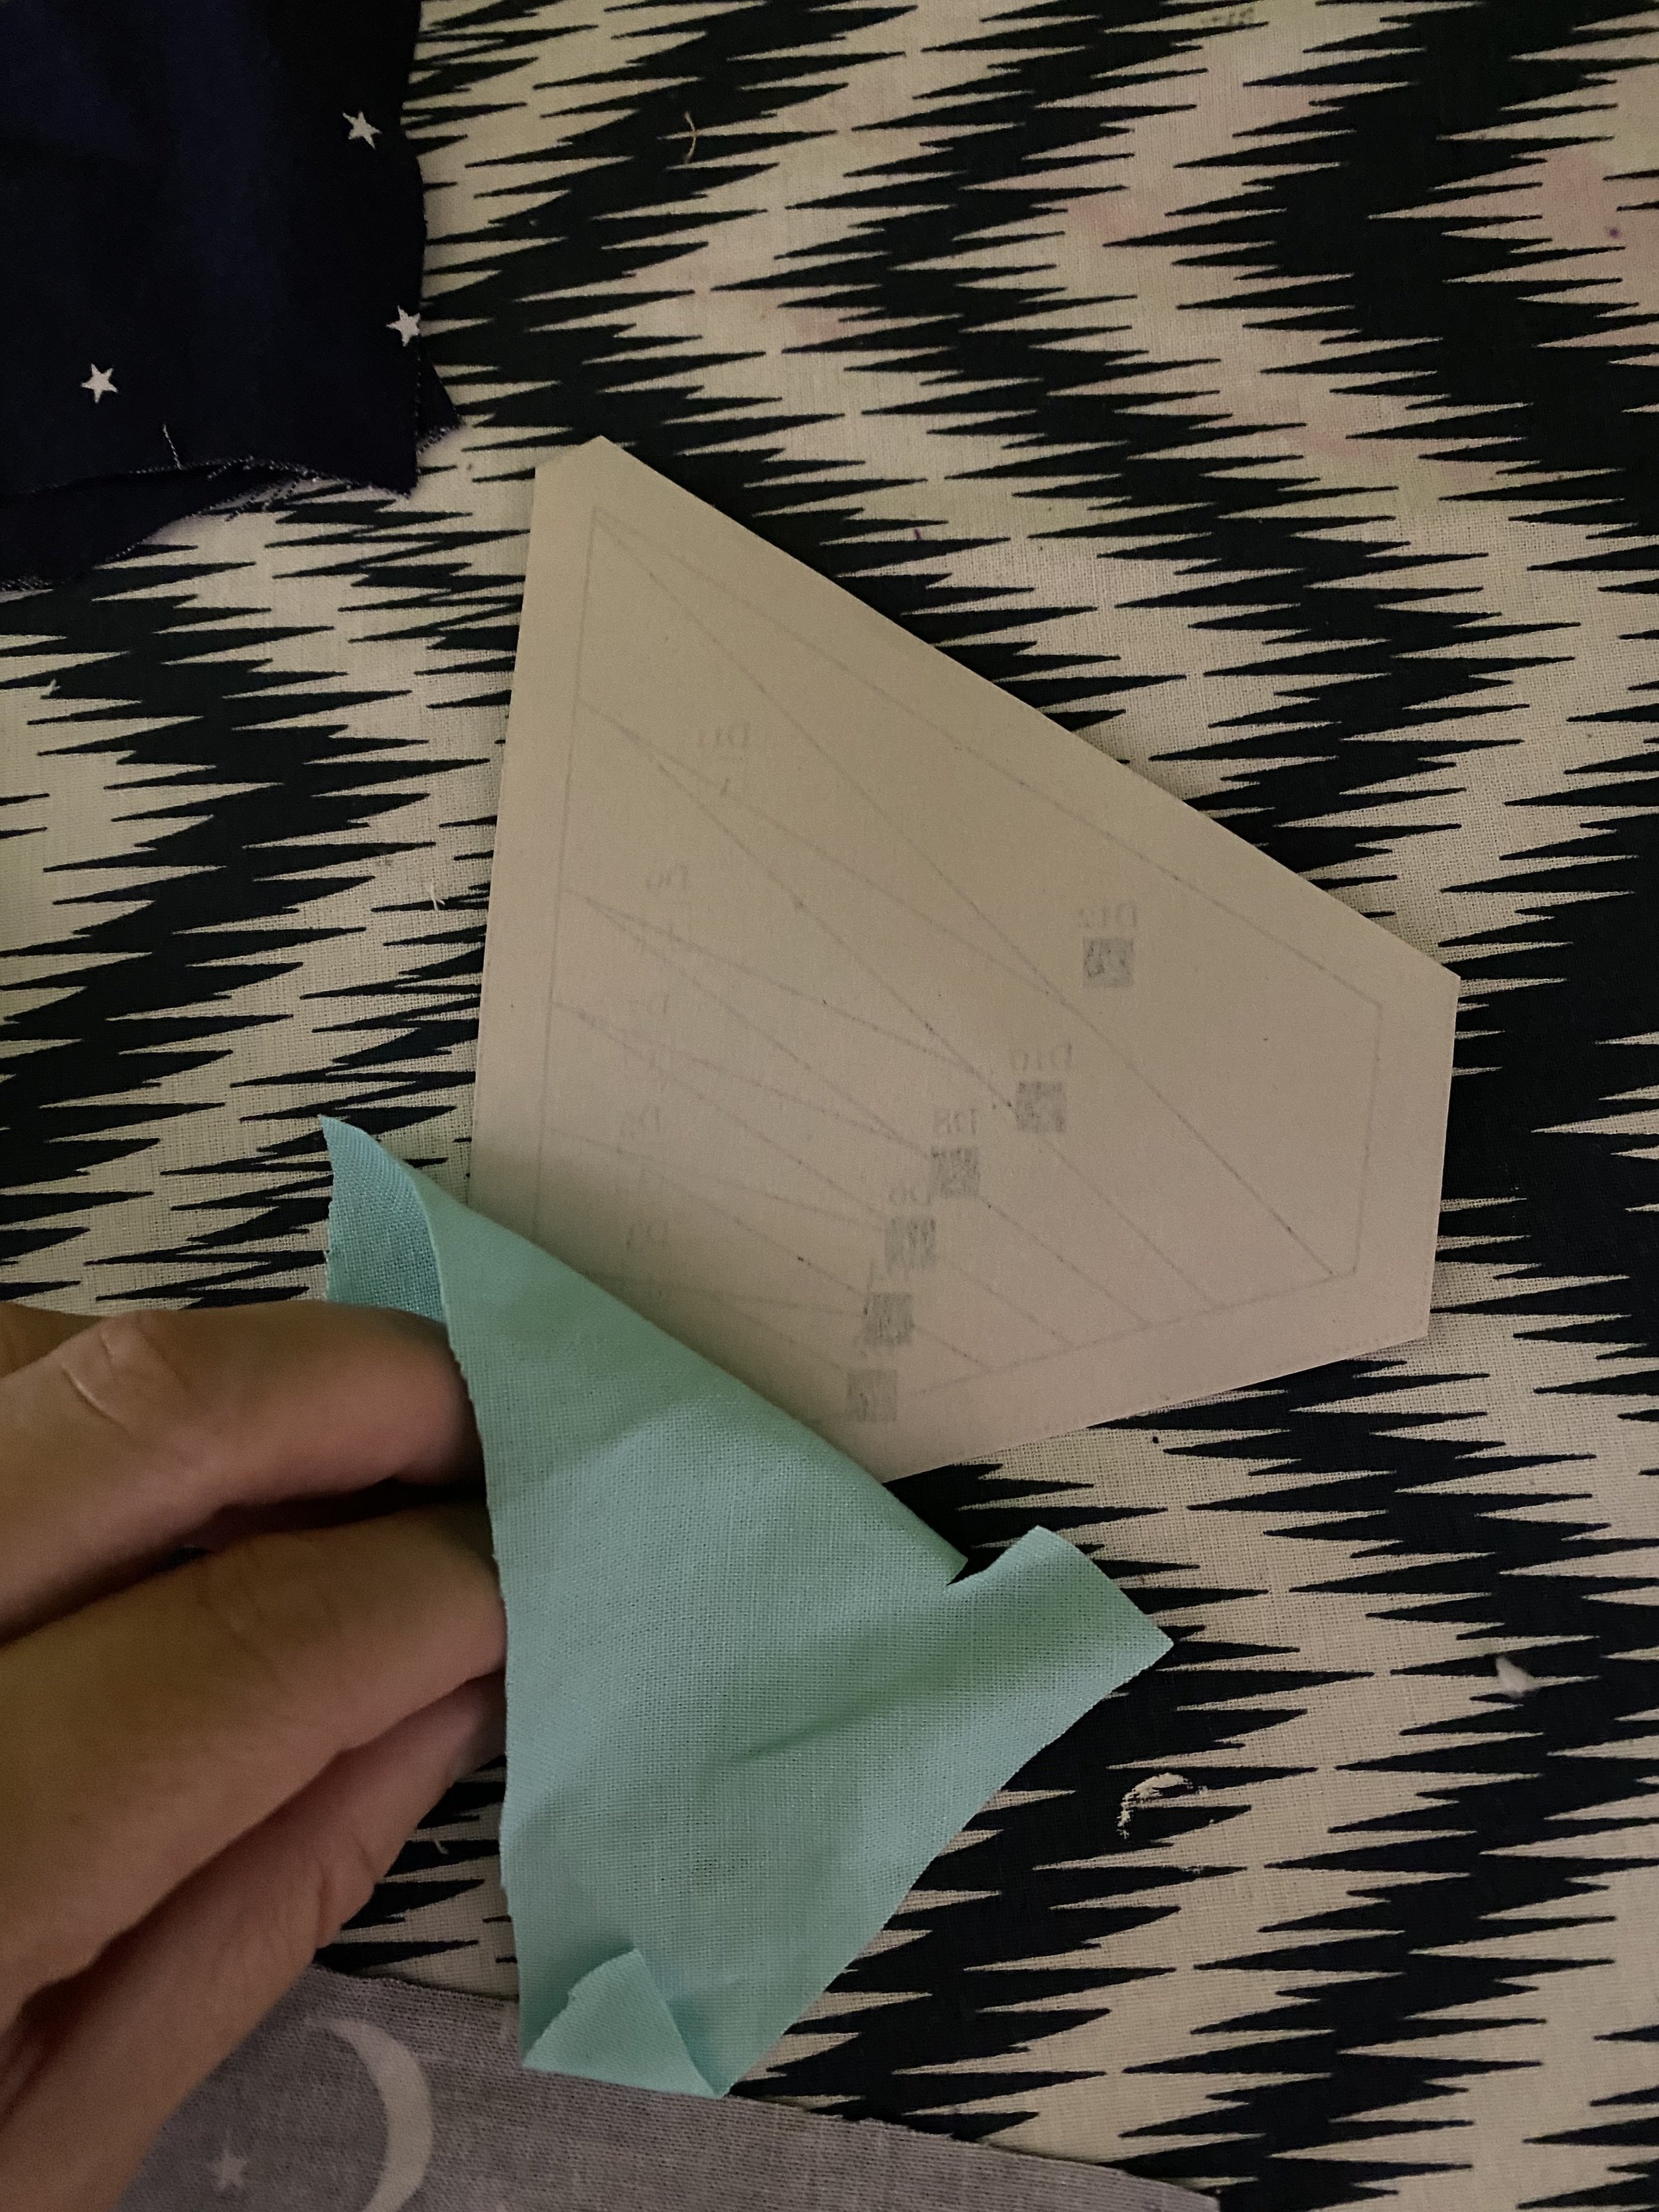
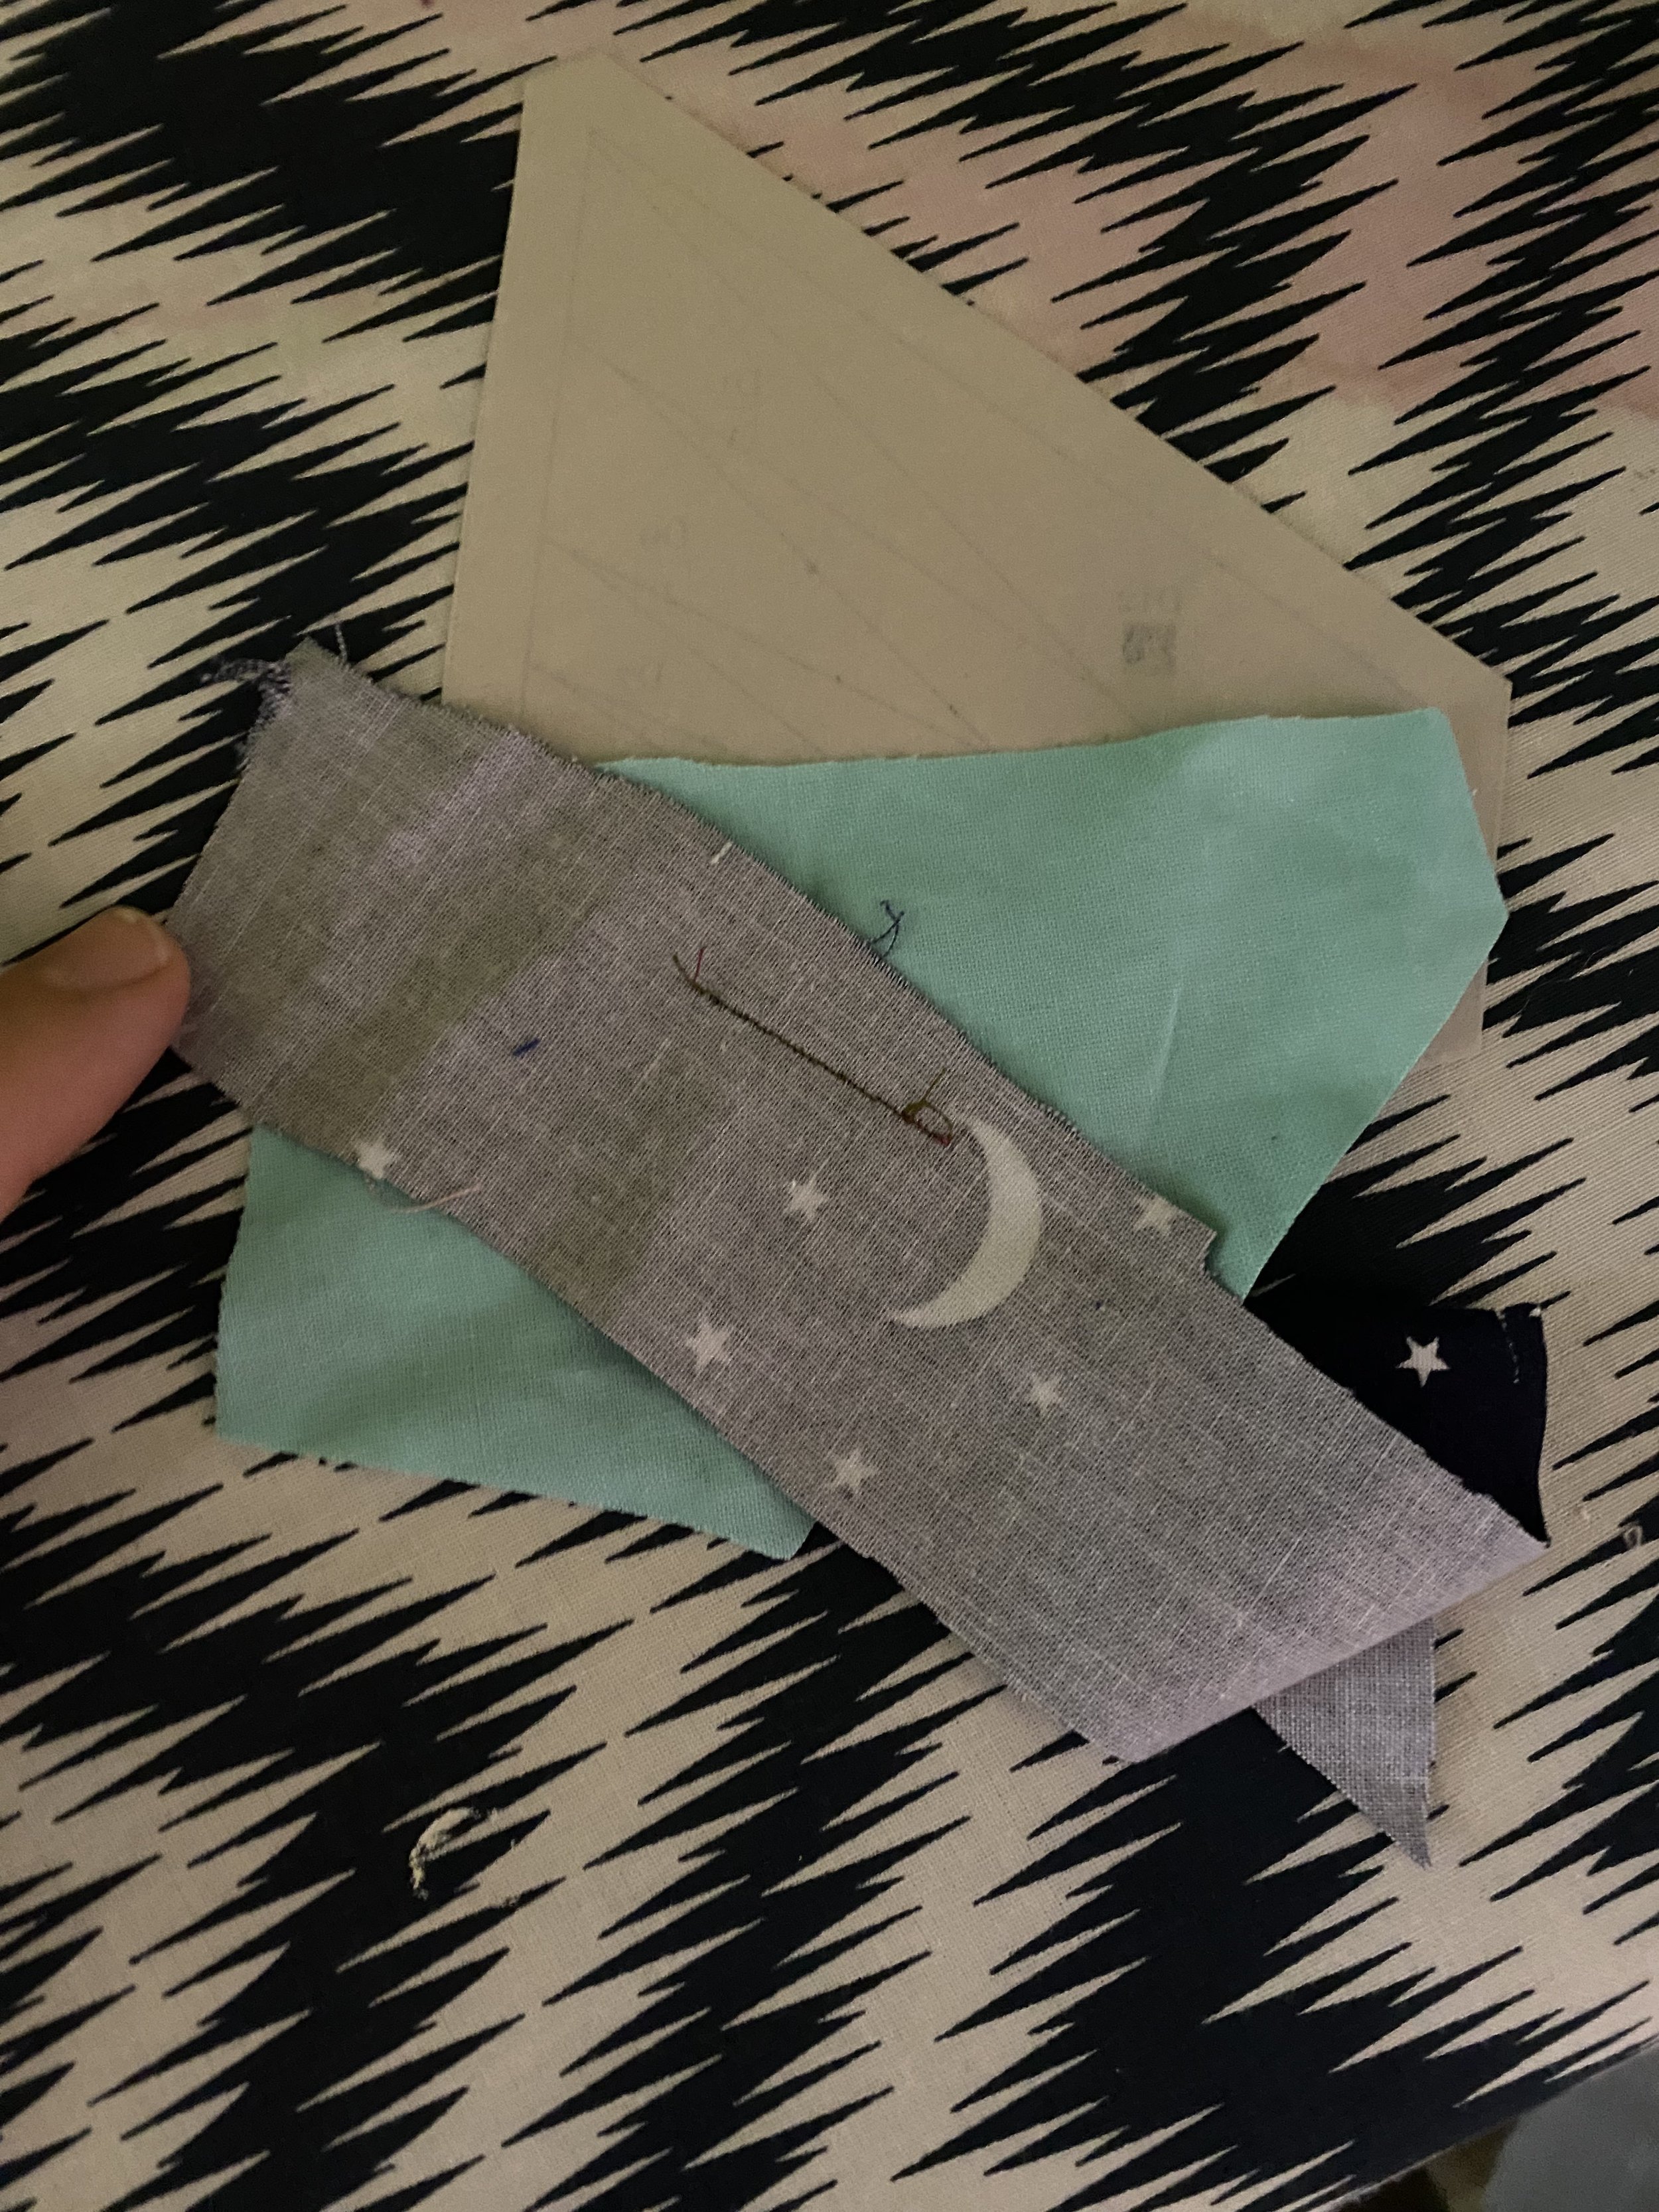
When you have all the sections cut out, you are ready to sew. You are going to start with the piece labeled “1” (NOT the color, the piecing number next to the letter). So for this piece I am starting with D1.
I am going to lay the fabric right side down, and then put the paper with the design facing up, on top of the fabric.
You need to ensure that the fabric covers the D1 piece, as well as at least 1/4” seam allowance all the way around the piece. You can always cut off if there is too much, but it is really difficult if there is too little.

The blue piece is measured for D1. It is bigger than D1 by at least 1/4” all the way around.
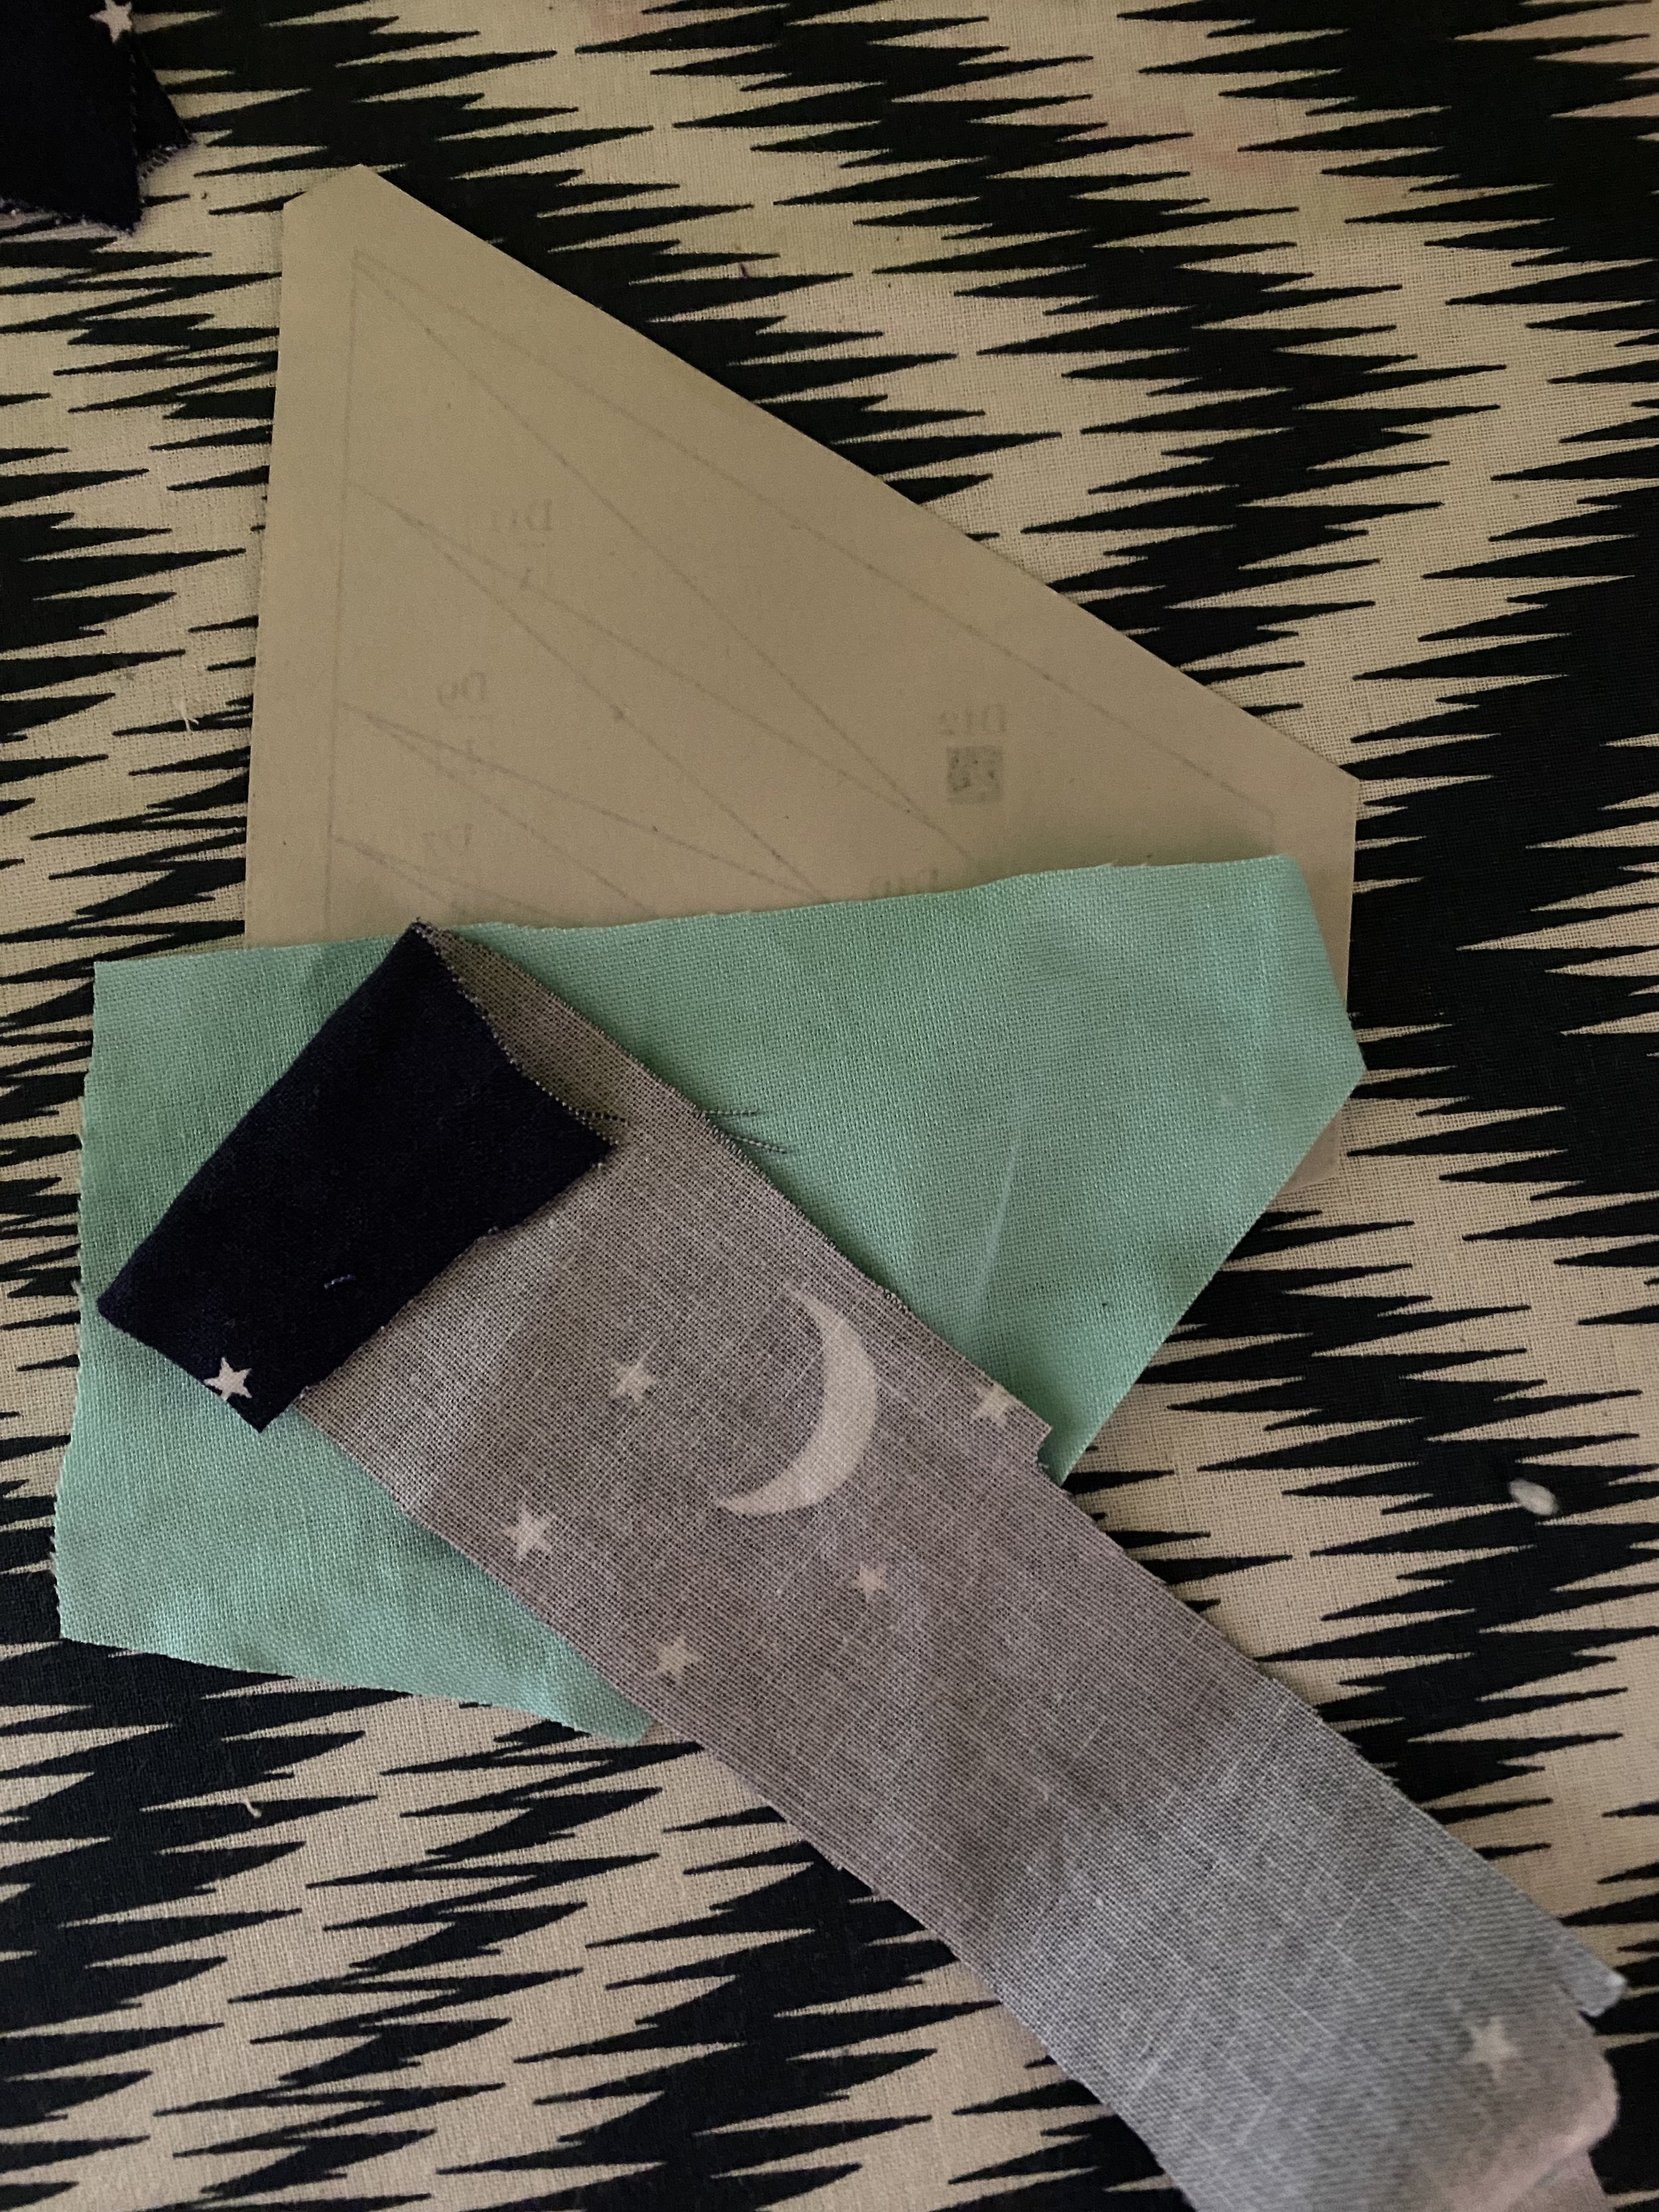
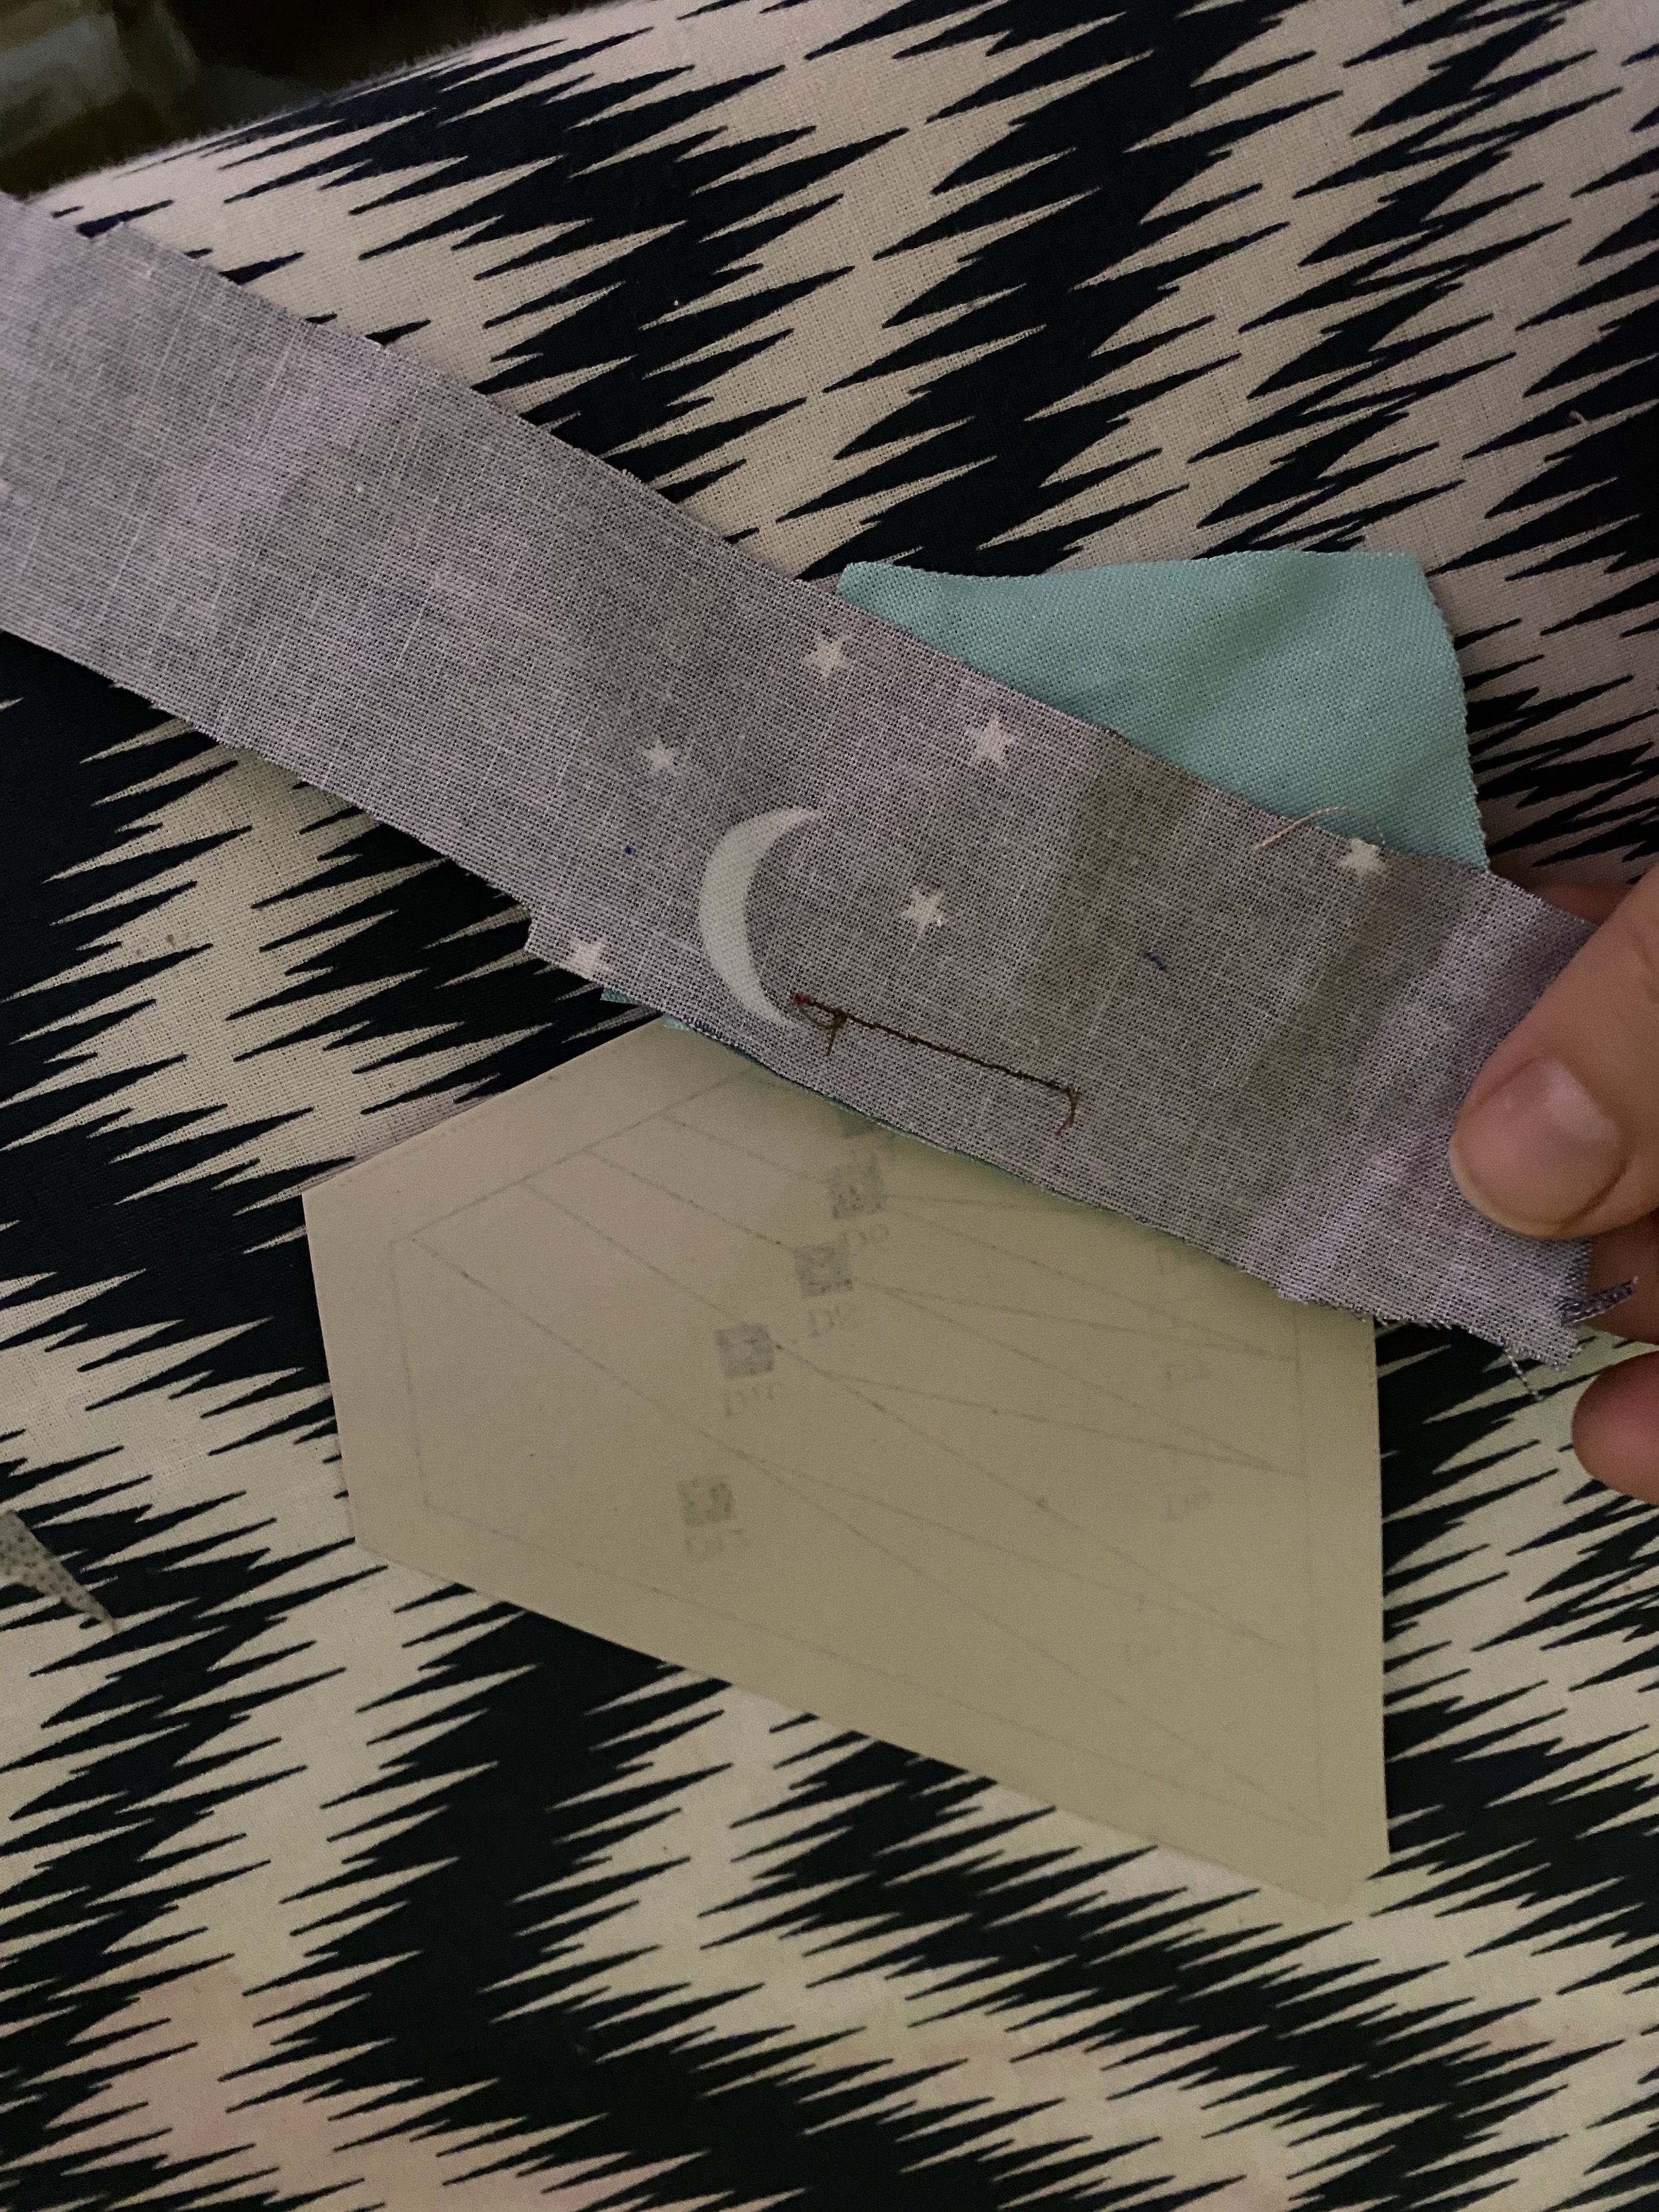

This is piece D3, the right side is up in this photo, with 1/4”+ beyond the sewing line.
Now you are going to repeat the process of attaching pieces one at a time, in the order labeled on the pattern. Our next piece is D3. Place the D3 color piece over the pattern piece to ensure you have at least a 1/4” all the way around the piece. Then flip it over and sew on the sew line between D2 and D3. Once you have sewn, trip the sea allowance to about 1/4” and iron the pieces flat.
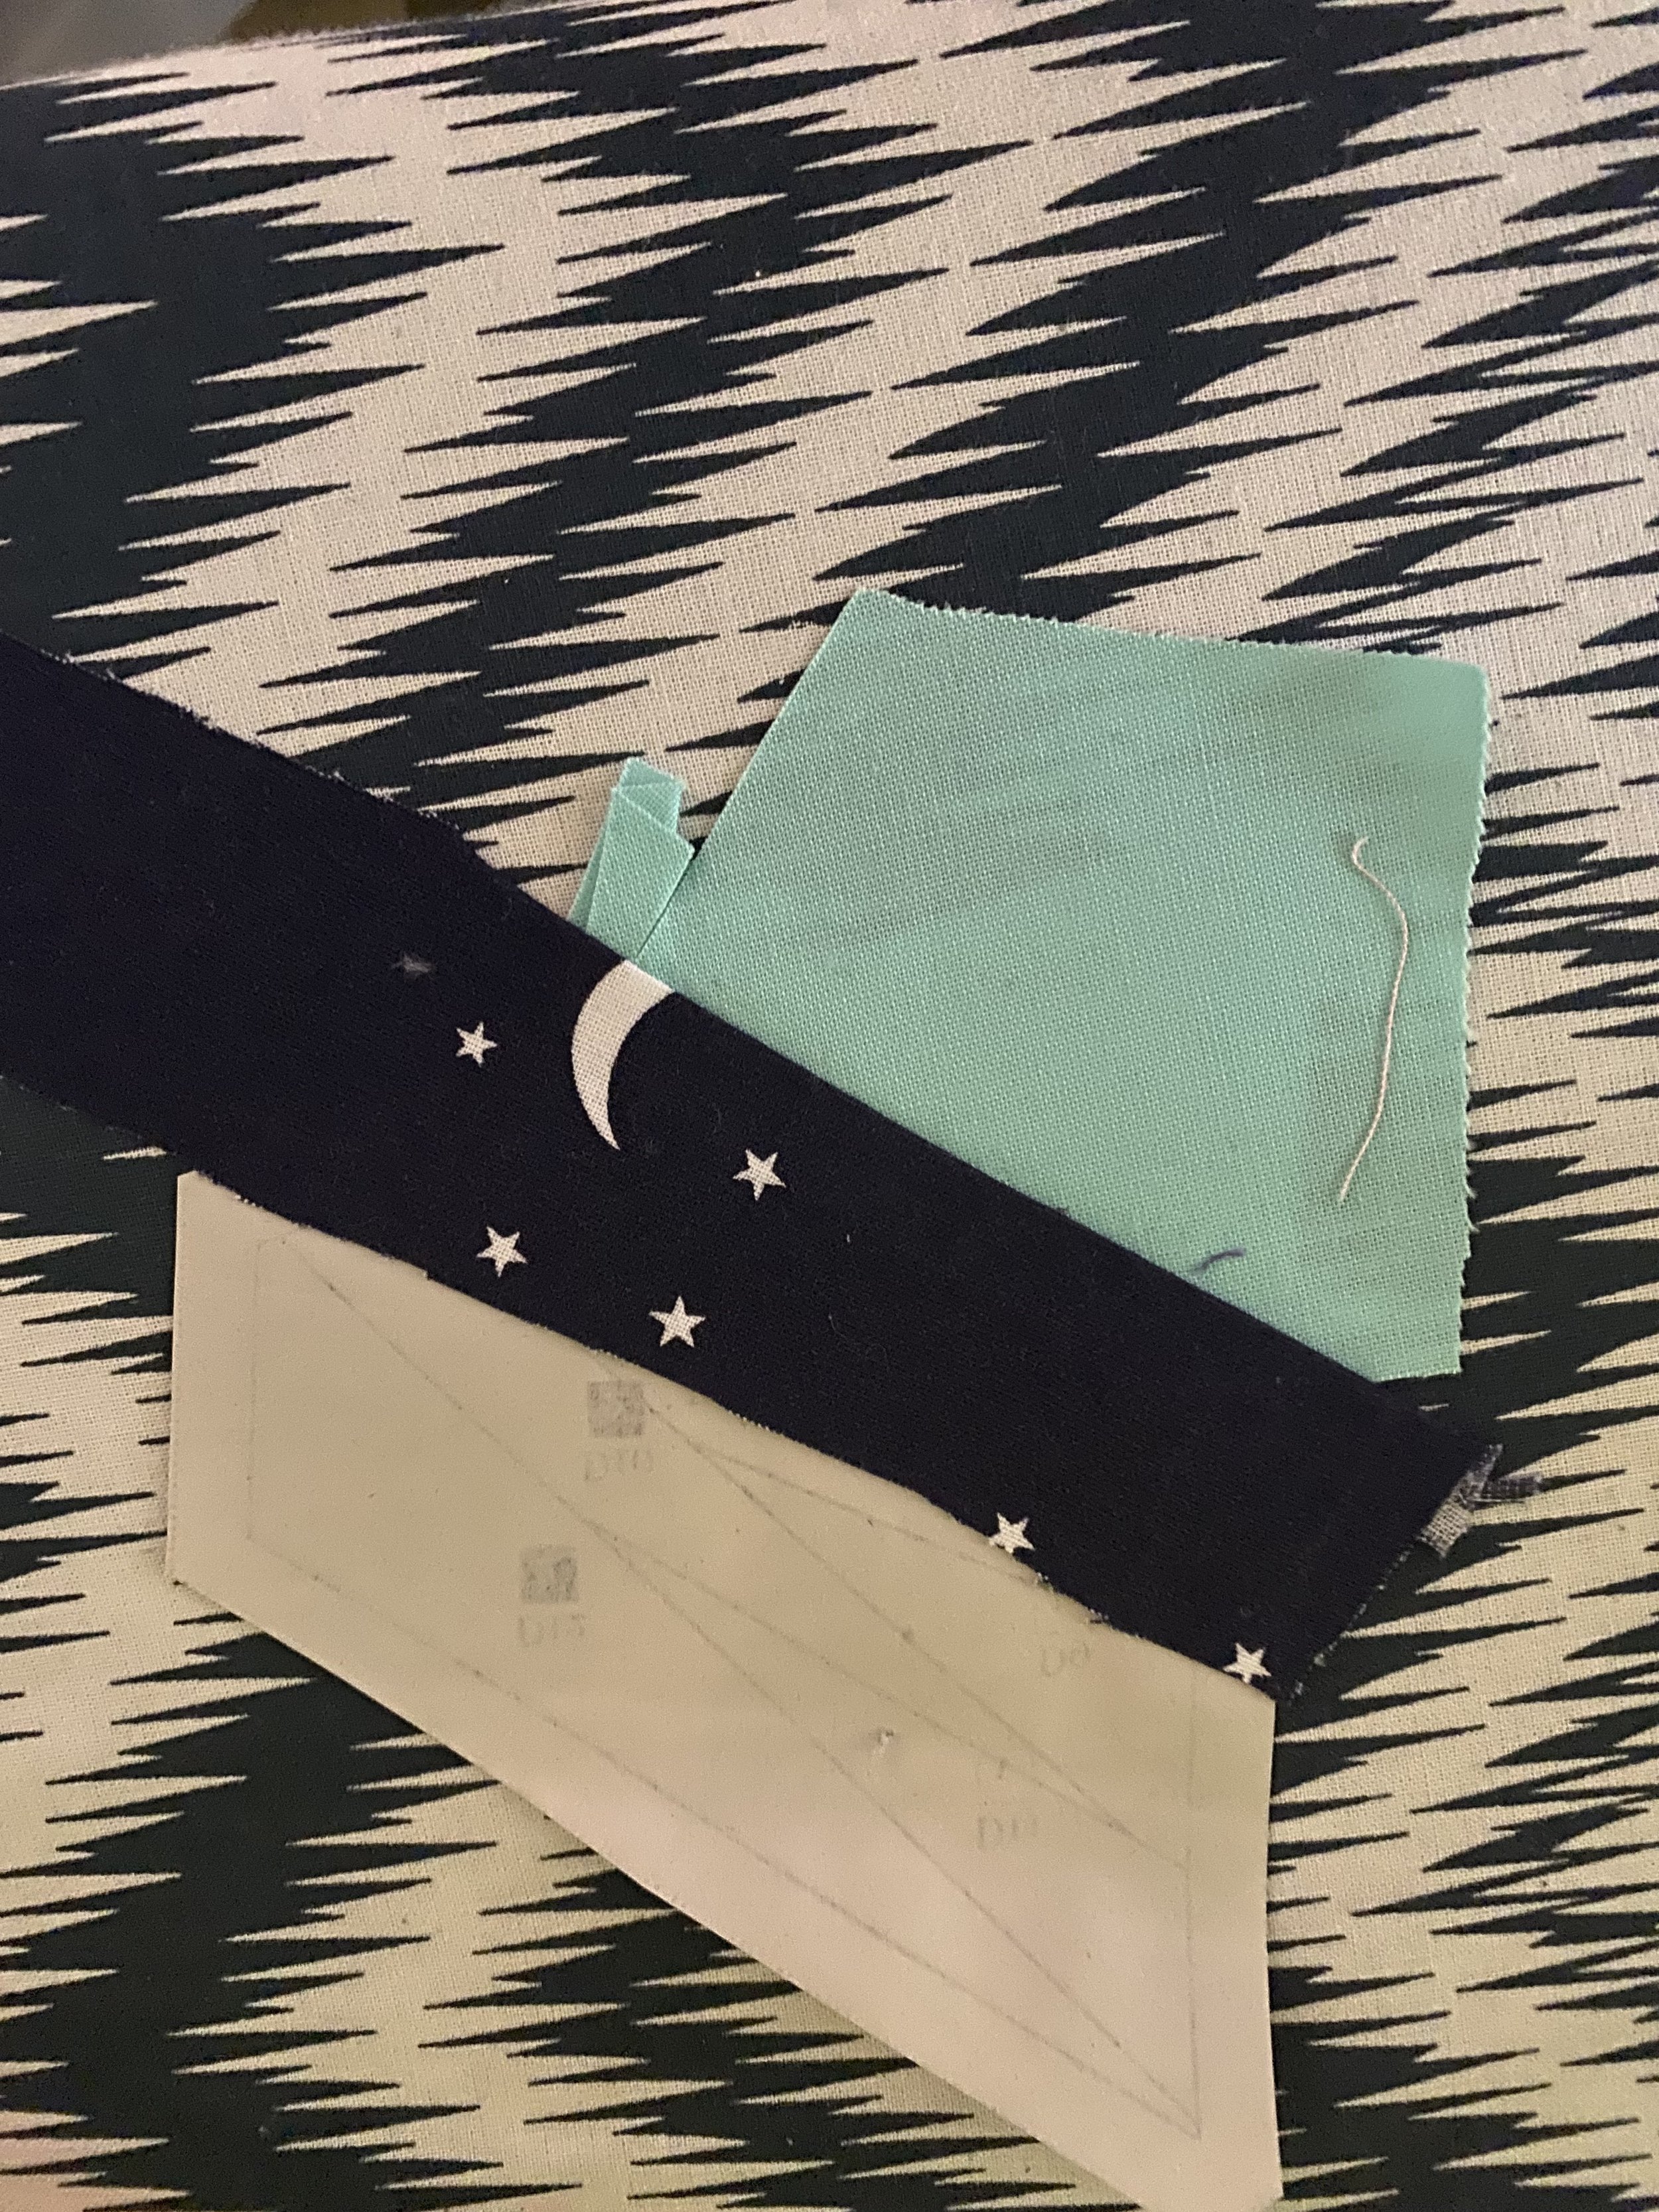
Keep following these steps for all the pieces, you should see them coming together fairly quickly! Once you have all the pieces in a pattern sewn on, you need to trim around the pattern piece.


Pieces all finished and trimmed! Now we are ready to put it all together! This is probably my favorite part of FPP because you get to see things go from abstract shapes to a picture.

First step is to pull out the pattern’s full piecing diagram. This image is from Quilt Assistant, but the pattern should have one as well.

You can see, with the pattern pieces right side up, that piece B lines with Piece D. You are going to flip one of the pieces over, and sew on the line to connect the two pieces. If it is a very large piece or you are not sure they will line up, you may want to adjust your stitch length to a longer length, like 2 or 3. You can even baste at a 5 or 6 and adjust as needed and then sew when you are happy with the match.
Step 6: Iron and trim
To find the placement for D2, flip both the fabric and the paper over, and move the fabric for D1 to find the line between D1 and D2, this is the sewing line you will need at least 1/4” of D2 to overlap
